
Let me take you through the steps. I started with painted the borders black and varnished the surface with a clear acrylic varnish, no I didn't bother doing the bottom.

I bought a low quality grass from a dutch company called Berka Scenery which sells Static Grass (100 gram) for 6,75 euro. That's the same company that ripped me off with the stones I bought. The actual costs of making this stuff is probably way lower, at least it's about 6 times as cheap as the GW Static Grass.
The color isn't great, but that's actually not important if you dry-brush it. This article explains and shows some of the effects when you dry-brush static grass. The original color of Berka's grass is much greener than GW's grass. When dry-brushing you can do a lot with it.
I used three different colors of green grass and mixed these together to form one big bucket of grass. I'm not sure, but I believe the colors are called summer, spring and autumn.
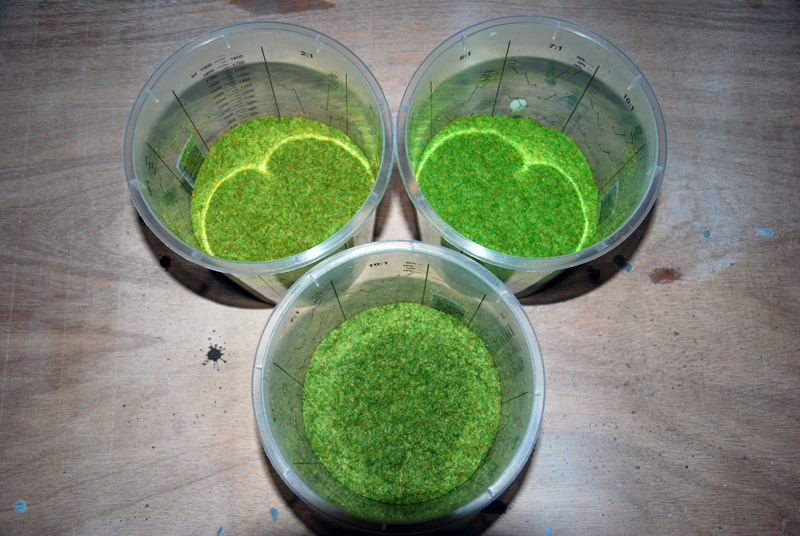 |
| My precious spice |
 |
| The tools for the job |
Application is pretty straightforward. The difficult part is getting a neat transition between the grass and the bare surface parts. I watered down some wood glue (1:2) and applied it with the medium brush. While working quickly I made sure the inner borders of the bare surface parts contained a thinned down layer of glue. Almost as if you dry-brush the inner borders with glue.
Not depicted on the picture, I used a strainer to apply the static grass mixture. After removing the excess grass, I thinned down the inner borders of the bare surface parts with the small brush. I did this while the glue was still wet.
 |
| The results after applying the grass mixture |
I dry-brushed the static grass with the same paints and in the same sequence I used for the panel surface. I dry-brushed it until I got the desired results, not really using a clear method. It's a creative process.
TIP: Make sure all excess paint is removed from the brush, failing to do so could render the grass unrepairable.
 |
| A dwarf try out |
In my next post I'll cover the water effects.
Congratulations to your first finished panel.
ReplyDeleteI really enjoyed reading your building series so far and i'm looking forward to your next articles!
Cheers,
Thomas
Thank you Thomas, I'm glad you enjoy reading them.
DeleteLooks great. I can't tell in the picture though is the static grass laying flat or actually standing straight up? Those are some seriously old Citadel dwarves there!
ReplyDeleteHi Kris, the static grass is standing straight up. The dwarves are indeed old, but recently painted. You might have seen them in the battle reports on http://warhammerforadults.blogspot.com
DeleteThat looks really good!
ReplyDeleteCheers,
Mojo
Thanks a lot for this TUT I make my own table and on the first review I post links to your page.
ReplyDeleteI hope it is ok?